
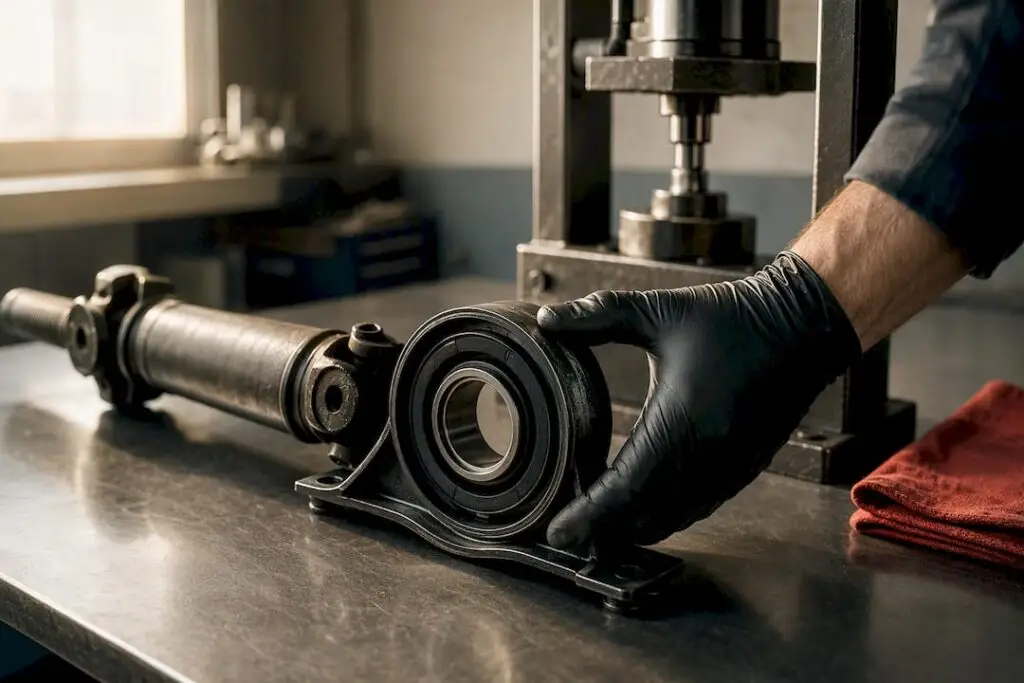
If you feel a vibration that builds around typical highway speeds and disappears when you coast in neutral, the center support bearing is a prime suspect. This bearing carries the middle of a two-piece driveshaft, and it needs attention now if you notice severe vibration, clunking on acceleration, or torn rubber around the mount. DIY replacement is possible, but pressing the bearing and reindexing the driveshaft correctly usually calls for a professional.
TL;DR:
- Rubber isolators typically fail before the bearing itself, causing vibrations that track driveshaft RPM and can transmit noise into the cabin.
- Visual inspection, lateral play tests, and a neutral coast test help diagnose a failing center support bearing accurately, especially if vibration diminishes in neutral.
- Replacing the bearing requires precise marking of driveshaft positions before disassembly to prevent reassembly-induced vibrations.
- Costs for parts and labor usually fall between $250 and $600 at an independent shop, with press work costing $20 to $40 if done separately.
- Proper diagnostics from a professional can distinguish bearing issues from U-joint wear or out-of-balance shaft, avoiding unnecessary repairs.
Table of Contents
- What Is a Center Support Bearing?
- What Are the Symptoms of a Bad Center Support Bearing?
- What Causes a Center Support Bearing to Fail?
- How Do You Replace a Center Support Bearing?
- How Much Does a Center Support Bearing Cost to Replace?
- How Can You Prevent Center Support Bearing Failure?
- What Does a Professional Diagnosis Catch That DIY Might Miss?
- The One Step That Separates a Good Repair From a Repeat Visit
- Book Dealer-Level Driveline Diagnostics With Alternative European & Domestic
- Sources
- FAQ
What Is a Center Support Bearing?
A center support bearing (also called a carrier bearing or hanger bearing) supports the middle joint of a two-piece driveshaft, common on trucks, SUVs, and longer rear-wheel-drive platforms where a single shaft would flex too much between the transmission and the rear axle. Splitting the driveshaft into two sections keeps the angles manageable, but that middle joint needs its own support bolted to the frame.
The part itself is a sealed ball bearing mounted inside a rubber housing, which bolts to a frame crossmember bracket. Three components matter here:
- The sealed bearing, which lets the shaft spin freely
- The rubber isolator, which absorbs vibration before it reaches the frame
- The mounting bracket, which anchors the whole assembly to the chassis
Here’s the detail most owners miss: the rubber almost always fails before the bearing does. Once that rubber hardens or tears, the shaft loses its cushioned support and starts transmitting vibration straight into the cabin.
What Are the Symptoms of a Bad Center Support Bearing?
Center support bearing symptoms have one giveaway: they track driveshaft RPM, not wheel speed or engine RPM. That distinction separates this problem from a bad wheel bearing or an unbalanced tire, which behave differently as speed changes.
Run through these checks in order:
- Road test at speed. Drive at a steady 45 to 65 mph and note where the vibration starts. A growling noise that scales with driveshaft speed, plus clunking under acceleration, points straight at the carrier bearing.
- Neutral coast test. Shift to neutral at the speed where vibration appears. If it fades, the driveshaft or its support is the likely cause, not the engine or transmission mounts.
- Visual inspection on a lift. Look for cracked, glazed, or torn rubber around the bearing housing.
- Lateral play check. Grab the shaft near the bearing and push side to side. More than minimal lateral movement is notable and worth acting on.
- Rule-out check. Inspect the U-joints and wheel bearings first, since worn U-joints produce similar clunking and a failing wheel bearing can mimic speed-related noise.
Pro Tip: Have a second person tap the accelerator while you watch the driveshaft from underneath (vehicle safely supported, engine off if you’re near it). Excess wobble at the bearing mount is often visible before it’s ever audible.
What Causes a Center Support Bearing to Fail?
Several things wear this part out faster than expected. Excessive driveline angle from a lift kit or sagging suspension, fluid contamination from a leaking transmission or transfer case, and plain rubber aging from mileage and road salt are the usual suspects. Off-road use and stop-and-go city driving both accelerate wear, since constant flex fatigues the rubber faster than steady highway miles.
Deciding what to replace comes down to a few clear rules:
- Cushion-only replacement works when the bearing itself still spins smoothly and quietly, and only the rubber isolator has degraded.
- Full assembly replacement is the safer call when the bearing shows any roughness, noise, or play, since separating a worn bearing from a good cushion rarely goes cleanly.
- Driveshaft replacement becomes necessary when the shaft itself is bent, corroded at the support point, or damaged from a bearing seizure that spun in its bracket.
Any bearing that’s seized, shows shredded rubber, or moves more than a couple of millimeters at the bracket needs replacement before the vehicle goes back on the road. Ignoring it risks a failed U-joint or a dropped driveshaft at speed.
How Do You Replace a Center Support Bearing?
Replacing a center support bearing correctly is less about strength and more about precision. Here’s the sequence a competent shop or careful DIYer follows:
- Mark the index points. Scratch or paint a line across both halves of the slip yoke and each flange connection before touching a bolt.
- Remove the driveshaft by unbolting the flange and sliding the slip yoke free.
- Separate the shaft sections at the support bearing.
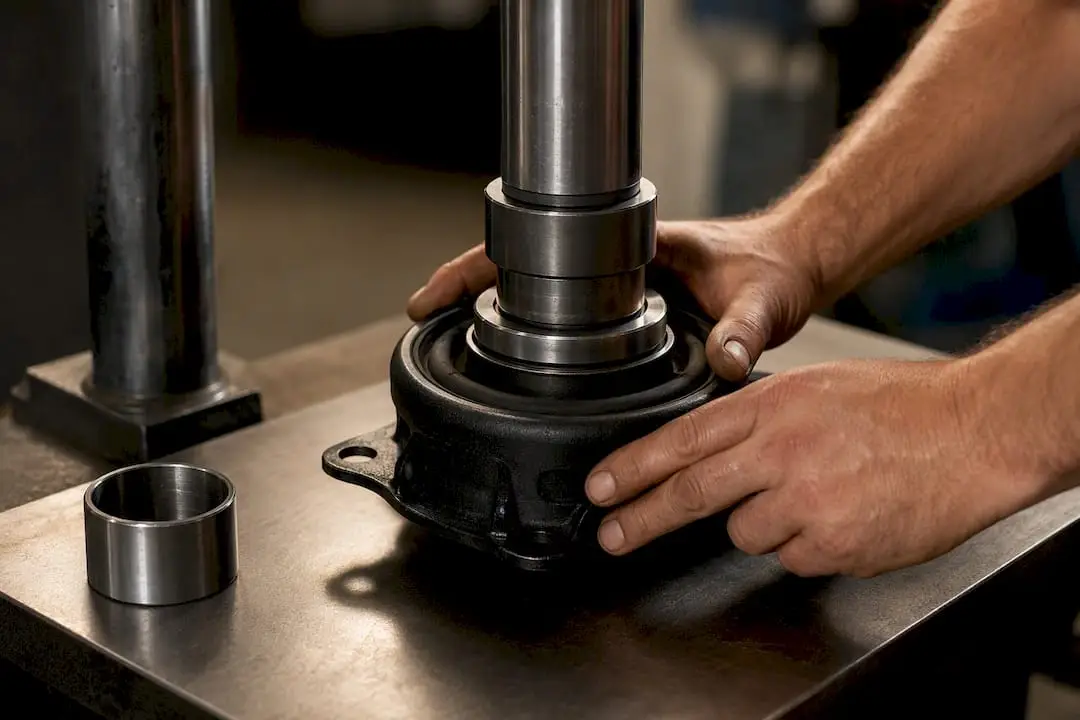
- Remove the old bearing with a puller or press.
- Install the new bearing, pressing on the inner race only, keeping it square to avoid cocking it in the housing.
- Reinstall the shaft in its original clock position, matching the marks made in step one, then torque all fasteners to the manufacturer’s specification.
If you don’t own a bearing press, you’ve got three realistic paths: rent or borrow a puller, pay a driveline shop to press the bearing for you, or buy a preassembled cartridge that skips the press step entirely. Buying a complete preassembled unit lowers the risk of installer error on many applications, which makes it the safer choice for a first-time DIY job.
Pro Tip: Never drive the new bearing on with force against the outer race. Support the inner race only and press straight in — cocking it even slightly can destroy the rubber isolator before the vehicle ever leaves the driveway.
How Much Does a Center Support Bearing Cost to Replace?
Parts pricing varies a lot depending on what you’re buying. A cushion-only rubber isolator sits at the low end, a preassembled cartridge bearing costs more but saves press work, and a complete driveshaft assembly runs into triple digits for premium applications.
Cost snapshot: Machine shops commonly charge $20 to $40 just to press a bearing onto a shaft, and full independent-shop replacement, parts and labor combined, typically lands between $250 and $600. Dealer labor rates generally push toward the higher end of that range.
Before ordering anything, confirm fitment carefully:
- Cross-reference the OE part number stamped on the old bearing rather than guessing by vehicle year alone.
- Check the shield orientation, since some aftermarket cartridges ship with the dust shield facing the wrong way for certain applications.
- Verify the bracket bolt pattern lines up with your crossmember before assuming a “universal fit” part actually fits.
How Can You Prevent Center Support Bearing Failure?
The rubber isolator is the part doing most of the suffering, so protecting it extends the life of the whole assembly. A few habits make a real difference:
- Fix transmission and transfer-case leaks quickly. Fluid contact degrades the rubber isolator faster than almost anything else.
- Inspect the bearing and its mounting angle after any lift kit, suspension modification, or extended off-road trip.
- Replace worn U-joints at the same time as the center support bearing when both are due. Combining that labor in one visit prevents a second trip under the truck a few months later.
- Check the bracket bolts periodically for corrosion, especially on vehicles that see winter road salt.
What Does a Professional Diagnosis Catch That DIY Might Miss?
A vibration that seems to come from the center support bearing sometimes has a second problem riding along with it. Dealer-level diagnostics can distinguish a failing bearing from worn U-joints, slip-yoke spline wear, or an out-of-balance shaft, conditions that often show up together but need separate fixes.
Reindexing the driveshaft to its original clock position isn’t a nice-to-have step. Skip it, and even a brand-new bearing and a perfectly balanced shaft can introduce fresh vibration that wasn’t there before the repair.
Some shops check runout and recheck for vibration after driveline work to confirm the fix solved the actual problem instead of masking it temporarily.
The One Step That Separates a Good Repair From a Repeat Visit
Most center support bearing guides focus on the bearing itself: press it in, torque the bolts, done. That’s not where jobs actually go wrong. The failure point is almost always the reassembly step nobody photographs: forgetting to mark the driveshaft before pulling it apart.
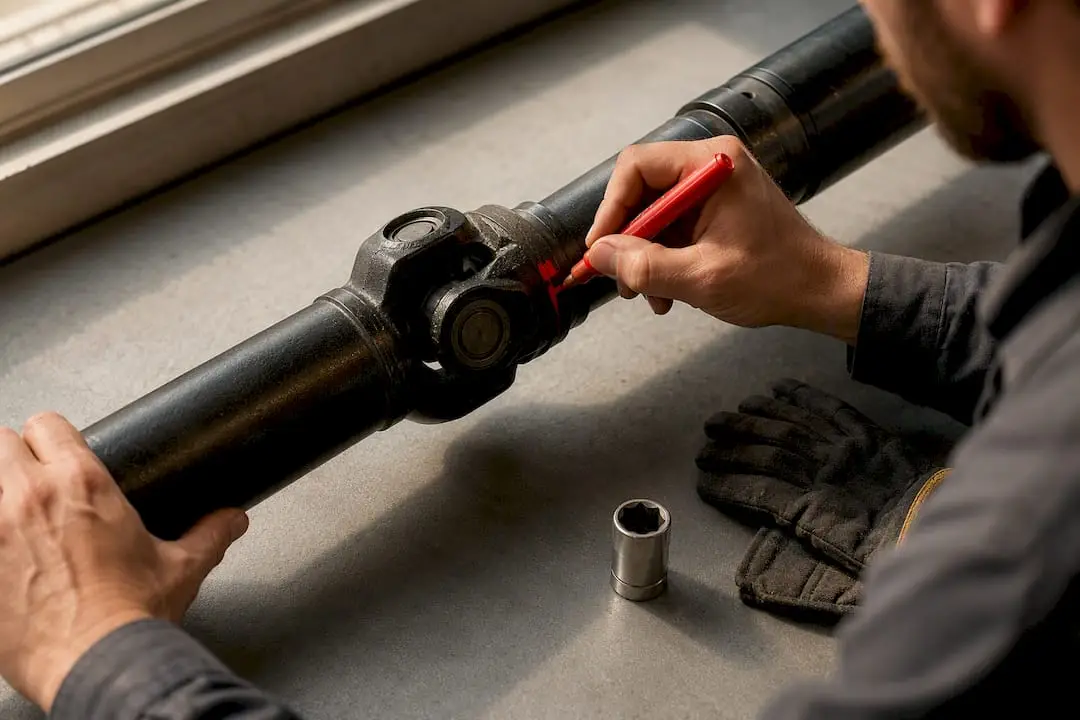
A driveshaft is balanced as an assembly. Every spline, every flange bolt hole, every slip-yoke position was matched at the factory to cancel out tiny manufacturing variances. Pull it apart without marking those positions, and you can reassemble a perfectly good bearing with a perfectly good driveshaft and still drive away with a new vibration that wasn’t there before. That’s the gap conventional DIY advice glosses over. It treats the bearing swap as the hard part and the reassembly as an afterthought.
Our take: if you’re comfortable with a wrench and a lift, the diagnostic and inspection steps are worth doing yourself. But the moment a press is involved, or you’re not fully confident the shaft is going back exactly where it came from, that’s the moment to book a diagnostic instead of guessing. A ten-dollar cushion that goes back in one spline off can cost you a full driveshaft.
— Alternative European & Domestic
Book Dealer-Level Driveline Diagnostics With Alternative European & Domestic
A vibration that only shows up between 45 and 65 mph is easy to misdiagnose from a driveway, and the wrong guess means paying twice. Some shops run dealer-level diagnostics that separate a failing center support bearing from worn U-joints, slip-yoke wear, or a leaking transmission seal that’s already eating away at the rubber isolator, so the repair addresses the actual cause the first time.

Technicians mark and reindex driveshafts before taking them apart, press bearings correctly on the inner race, and recheck for runout after reassembly, steps that help prevent a fresh vibration from replacing the old vibration. If a transmission or transfer-case leak is contaminating the bearing, our transmission and driveline service team handles that alongside the bearing repair so you’re not back under the truck in six months. Routine maintenance inspections also catch early bracket corrosion and rubber wear before they turn into a roadside problem. Call or book online today to get your driveline checked properly.
Sources
- Carrier Bearing Guide: What It Is & When to Replace
- Center support bearings
- Common indicators of a failing driveshaft center support bearing
FAQ
What Happens When a Center Support Bearing Goes Bad?
The rubber isolator degrades first, letting the driveshaft flex out of alignment and transmit vibration and noise into the cabin. Left alone, this stresses the U-joints and can eventually cause the shaft to drop or the bearing to seize entirely.
What Is a Center Support Bearing?
It’s a sealed ball bearing housed in a rubber mount that supports the middle joint of a two-piece driveshaft, bolted to the vehicle’s frame. It’s also known as a carrier bearing or hanger bearing.
How Much to Replace a Center Support Bearing?
Parts alone range widely depending on whether you buy a cushion-only isolator or a complete cartridge. A full independent-shop repair, parts and labor combined, commonly runs between $250 and $600, and current pricing at Alternative European & Domestic is available by request through the shop’s service page.
How Much Does It Cost to Replace a Center Bearing?
If you already have the bearing pressed rather than doing the full removal and reinstall yourself, machine shops typically charge $20 to $40 just for the press work. Total cost depends heavily on whether the U-joints or driveshaft also need attention during the same repair.
Can a Bad Center Support Bearing Damage Other Parts?
Yes. A worn bearing lets the driveshaft run out of alignment, which accelerates wear on the U-joints and can eventually damage the transmission’s output shaft seal or the transfer case if left unaddressed for too long.