
If your car’s A/C blows warm, or only cools when you’re cruising above 40 mph, low refrigerant caused by a leak is the most likely culprit. Recharging without finding that leak just buys you a few weeks before the cold air disappears again. Before you do anything else:
- Check vent temperature with a simple thermometer. Anything above 45°F suggests a real problem, not just a hot day.
- Look for oily residue around hose fittings and the compressor. Refrigerant oil leaves a slick film exactly where it’s escaping.
- Skip the drugstore recharge can, especially if your vehicle runs R-1234yf refrigerant, which requires certified equipment to handle safely.
A system that’s fully empty, or one that loses cooling again days after a recharge, needs a shop visit. That’s not a maintenance chore. It’s a diagnostic problem.
Key Takeaways
Low refrigerant usually signals a leak, and a lasting fix requires leak diagnosis and repair before any recharge, not instead of one.
| Point | Details |
|---|---|
| Diagnose before recharging | A leak nearly always causes low refrigerant, so confirm and repair it before adding refrigerant. |
| Watch idle vs. speed cooling | Cold air at speed but warm at idle points to low pressure, not just a hot day. |
| Skip the drugstore can | DIY recharges risk overcharging, wrong oil, and clogged components on modern systems. |
| Match cost to scope | Simple recharges run $60 to $350, while leak repairs often fall between $200 and $1,000. |
| Choose precision service | Alternativecarcare uses calibrated charging and dealer-level diagnostics matched to your vehicle’s exact spec. |
Table of Contents
- What Symptoms Point To AC Refrigerant Low Levels?
- How Do Shops Confirm Low Refrigerant And Find Leaks?
- Why Does A Professional Diagnosis Beat A DIY Recharge?
- What Does A Shop Visit Actually Involve, And What Does It Cost?
- Where Do AC Leaks Usually Start, And How Urgent Is It?
- How Alternativecarcare Handles Low Refrigerant On European Cars
- What This Guide Gets Right That Most Advice Misses
- Ready To Get Your AC Diagnosed The Right Way?
- Sources
What Symptoms Point To AC Refrigerant Low Levels?
Low refrigerant rarely announces itself all at once. It shows up as a slow fade, not a sudden failure, which is exactly why so many drivers ignore it until the system goes fully warm.
The most telling low refrigerant symptoms for car owners report is cooling that works fine on the highway but weakens or disappears at a stoplight. That pattern reflects refrigerant pressure dropping too low to keep the system cycling efficiently at idle. Gradual cooling loss over weeks or months, rather than a sudden change, is a classic low-refrigerant signature rather than a sign of normal wear.
Watch for these patterns:
- Vents take longer than they used to reach cold air, or never quite get there.
- Cooling holds up at speed but fades or vanishes at idle or in stop-and-go traffic.
- The compressor clutch won’t engage at all, or it cycles on and off rapidly instead of running steady.
- A faint hissing sound near the firewall or engine bay, paired with an oily film on fittings.
Rapid cycling or a clutch that never engages can also point to an electrical fault, a bad pressure switch, or a failing compressor rather than refrigerant loss alone. That distinction is exactly why a shop test matters more than a guess based on symptoms.
How Do Shops Confirm Low Refrigerant And Find Leaks?
A shop starts with calibrated gauges on the high and low side service ports. Readings well below the target range for outdoor temperature confirm a low charge, but gauges alone don’t tell you where the refrigerant went.
Finding the leak itself takes one or more of these methods:
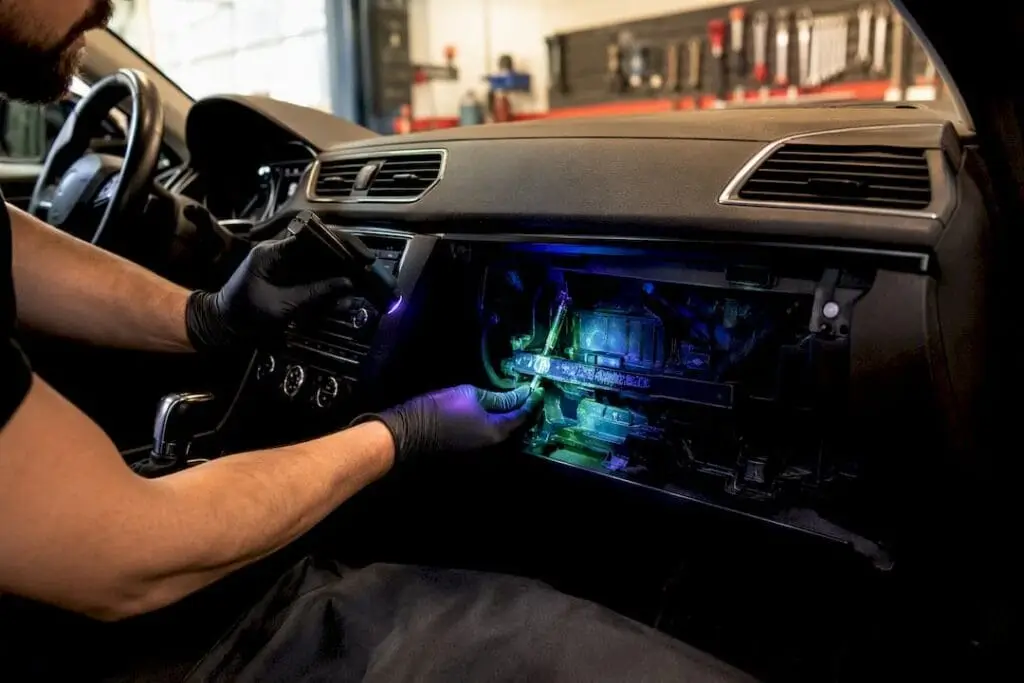
- UV dye tracing. A fluorescent dye gets added to the system, circulates with the refrigerant oil, and glows under a UV lamp at the leak point once it’s had time to work through the loop.
- Electronic refrigerant detectors. These sniff for halogen gas concentrations around fittings, hoses, and the evaporator housing. Electronic detectors pick up leaks so small that UV dye may never surface at the fitting, which matters most for evaporator core leaks buried behind the dash.
- Nitrogen or forming-gas pressure testing. Technicians pressurize the empty system with an inert gas and watch for pressure drop over time, useful when a leak is too slow for dye or electronic tools to catch quickly.
Shops typically combine visual and UV inspection for accessible components, then move to electronic detection or pressure testing for hidden leaks in the evaporator or behind the dash. Before pressure testing, the system has to be fully recovered and evacuated, since residual refrigerant would contaminate the reading.
Pro Tip: Ask whether the shop’s UV dye was added during a previous service. Dye already in the system saves you the cost of a second dye charge and speeds up leak confirmation.
Why Does A Professional Diagnosis Beat A DIY Recharge?
Drugstore recharge kits treat the symptom, not the cause. You add refrigerant, the compressor kicks on, and for a week or two everything feels fixed. Then the same leak drains the system right back down.
The bigger risk is what those kits do to the system itself:
- Wrong refrigerant type or incompatible oil, which is a real hazard on newer R-1234yf systems.
- Overcharging, which raises head pressure and can damage the compressor or blow a seal.
- Stop-leak additives that clog the orifice tube, condenser, or expansion valve.
- No vacuum stage, so moisture stays trapped in the system and forms acid over time.
A properly sealed A/C system shouldn’t need frequent top-offs; needing one repeatedly is itself evidence of an unrepaired leak. For European and high-performance platforms, that risk compounds. Getting the oil type and refrigerant charge exactly right matters more on tight-tolerance systems, where overcharging or the wrong oil can degrade compressor reliability over time. A measured recharge to the manufacturer’s exact spec, done after proper evacuation, costs more upfront than a can from the auto parts store. It also tends to be the last recharge you need for a while.
What Does A Shop Visit Actually Involve, And What Does It Cost?
A legitimate A/C repair follows a fixed sequence, and skipping steps is how comebacks happen. The correct process recovers existing refrigerant, pulls a vacuum to remove moisture, performs leak testing, then recharges to the exact factory specification.
- Recover remaining refrigerant with a certified recovery machine.
- Pull a deep vacuum and hold it, confirming no leaks and removing trapped moisture.
- Run leak detection: UV dye, electronic sniffer, or nitrogen pressure test depending on the suspected location.
- Repair the leak point. Replace the receiver/drier if the system was opened to atmosphere for any length of time.
- Recharge to the manufacturer’s exact weight specification using a calibrated charging station.
- Verify results with vent temperature readings and a final pressure check on both sides.
How long that takes, and what it costs, depends heavily on scope:
- Recharge with leak check only: roughly an hour or two in the bay, with total cost typically running $60 to $350 depending on refrigerant type and how much is needed.
- Leak repair plus evacuation: often a half-day job, with parts and labor landing in the $200 to $1,000 range depending on which component failed.
- Condenser, evaporator, or compressor replacement: can run a full day or more, especially if the evaporator sits behind the dash, and costs climb well beyond the leak-repair range once major parts are involved.
Before you approve any quote, ask what refrigerant type the system uses, how long they hold vacuum before recharging, which leak detection method they’re running, and what warranty covers the repair.
Where Do AC Leaks Usually Start, And How Urgent Is It?
Not every leak is equal. Some are a five-minute fix; others are a sign the compressor is on its way out.

Service port O-rings and hose fittings are the easiest and cheapest leaks to chase down, usually visible with UV dye in one session. Condenser leaks, often from stone damage up front, run moderate in cost and labor. Compressor shaft seal leaks and evaporator core leaks sit at the expensive end. The evaporator especially requires dash disassembly on most vehicles, which adds hours of labor before the actual part gets touched.
Treat these as act-now signals:
- Cooling that disappears again within days of a fresh recharge, which almost always means an active leak, not a slow one.
- Grinding, squealing, or clicking from the compressor clutch area.
- Visible oil spray on the underside of the hood or around the condenser.
A slow leak that’s dropped cooling gradually over a season can usually wait for a scheduled appointment. A system that’s gone from cold to nothing in under a week, or one making noise, deserves a same-day look. Left alone, a failing compressor can shed metal into the lines and contaminate the whole system, turning a moderate repair into a full flush-and-replace job.
How Alternativecarcare Handles Low Refrigerant On European Cars
European and performance vehicles run tighter tolerances than most daily drivers, and that shows up clearly in A/C work. A slightly wrong oil viscosity or a half-pound overcharge that a mainstream sedan shrugs off can shorten compressor life on a tuned platform.
Alternativecarcare builds its diagnostic process around that reality, using dealer-level scan tools, calibrated charging machines, and UV or electronic leak detection matched to each manufacturer’s exact refrigerant and oil specification.
Precision charging isn’t a luxury on high-performance systems, it’s the difference between a repair that lasts and one you’ll be paying for again next summer.
What that means for a customer booking a diagnostic:
- A transparent, itemized quote before any repair work starts.
- A measured recharge to the exact factory-specified weight, not an estimate.
- A maintenance plan built around your specific vehicle rather than a generic service interval.
What This Guide Gets Right That Most Advice Misses
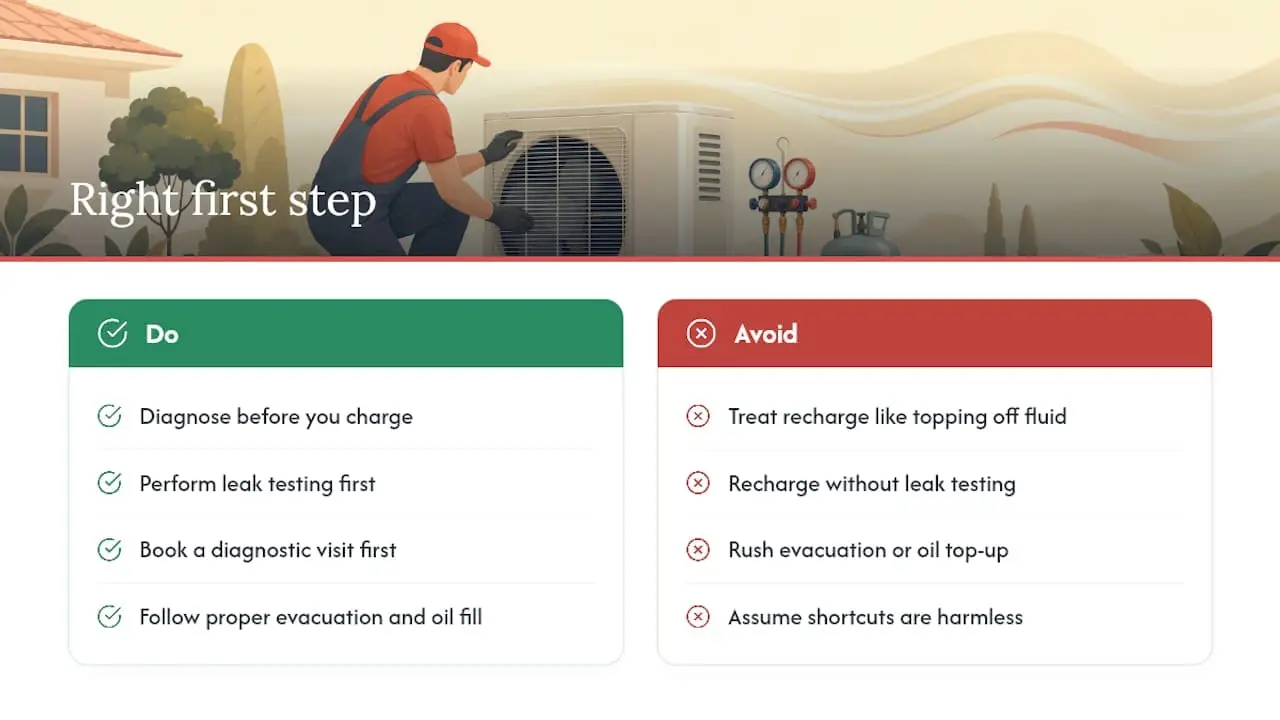
Most online advice treats a car A/C recharge like topping off windshield washer fluid: cheap, quick, no downside. That framing is wrong, and it costs drivers money twice, once for the can of refrigerant that didn’t fix anything, and again for the proper repair they eventually need anyway.
The evidence here points to a simple hierarchy: diagnose before you charge, always. A recharge without leak testing is a temporary patch dressed up as a repair. It works exactly once, until it doesn’t.
Where I’d push back on conventional wisdom is the assumption that all A/C problems are equally forgiving of shortcuts. On a European or high-performance platform, a slightly wrong oil fill or a rushed evacuation has real consequences for compressor life, not just comfort. That’s the piece most generic advice skips entirely.
If you take one thing from this, let it be this: the first visit to a shop should be a diagnostic, not a recharge appointment. Everything downstream, cost, timeline, and whether you’re back in six months, depends on getting that first step right.
Ready To Get Your AC Diagnosed The Right Way?
If your A/C is blowing warm, cycling oddly, or lost cooling again shortly after a recharge somewhere else, that’s exactly the profile Alternativecarcare’s diagnostic process is built to sort out. When you call to book, mention your symptoms specifically (warm at idle, cold at speed, clutch not engaging), your vehicle’s make and model, and whether anyone’s already added refrigerant or stop-leak product. That history changes what the technician checks first.

A first appointment typically includes a full pressure check, a visual and UV inspection of accessible components, and a written estimate before any repair begins. Every recommendation gets tied to your car’s actual manufacturer specification, not a generic top-off. You’ll know exactly what’s wrong, what it costs to fix properly, and why, before any work starts. Schedule a diagnostic appointment and get a straight answer instead of another temporary recharge.
Sources
- Car AC Not Blowing Cold Air? Complete Diagnosis & Repair Guide for Sonoma County (2026)
- How Much Does a Car AC Recharge Cost?
- Car air-conditioning leak detection — HELLA Tech World
- How to detect car air‑conditioning leak — Fluorotechnik blog