
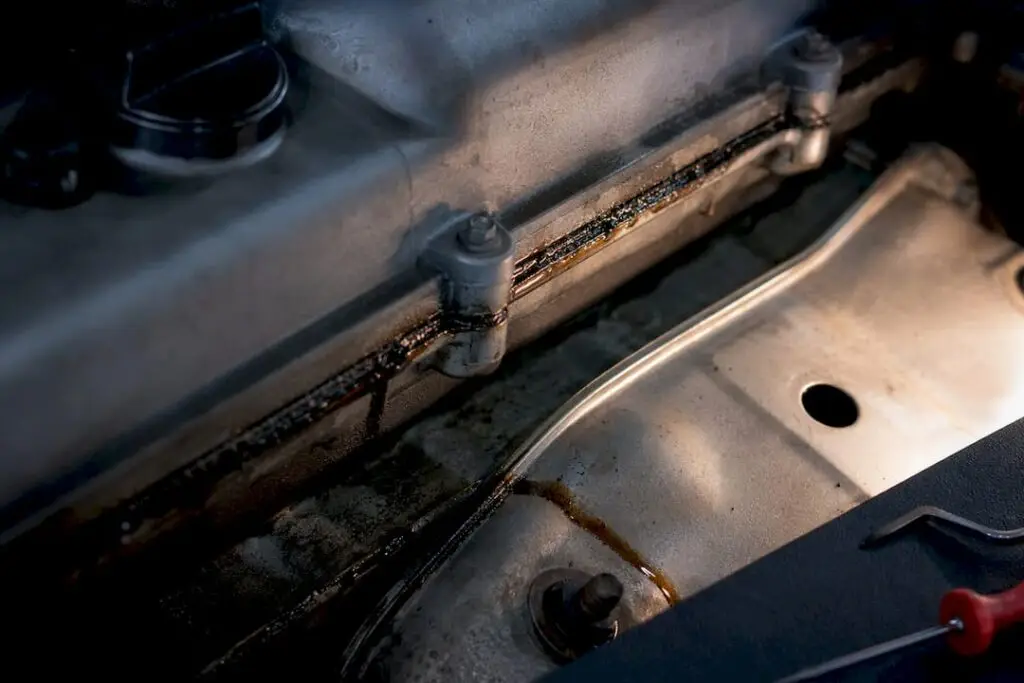
Most valve cover gasket leaks start small and stay small for a while, but they don’t stay harmless forever. If you spot smoke from the engine bay, oil pooling fast, or a misfire, stop driving and get the car checked. If it’s just a faint oily smell or light seepage on the dipstick, you can monitor it closely while you schedule a repair.
TL;DR:
- Oil leaks that cause smoke or oil pooling quickly require immediate repair, especially if you notice oil puddles or the dipstick dropping rapidly.
- Confirm the leak source by inspecting and cleaning the valve cover area, checking for fresh seepage after a short drive, and considering UV dye if needed.
- Gasket failure results mainly from heat-induced brittleness and improper bolt torque, with crankcase pressure from a faulty PCV system often accelerating leaks.
- DIY repair is feasible for accessible engines with proper tools, but professional inspection is recommended if the leak persists or engine bay access is limited.
- Regular monitoring of oil level and PCV system health can prevent future leaks, with urgent repairs needed if oil consumption or engine performance worsens.
Table of Contents
- What Does a Valve Cover Gasket Leak Look Like?
- How Do You Confirm the Valve Cover Gasket Is the Source?
- What Causes a Valve Cover Gasket to Leak?
- Should You Fix It Yourself or Call a Shop?
- How Do You Replace a Valve Cover Gasket the Right Way?
- How Do You Prevent the Next Valve Cover Gasket Leak?
- When Should You Bring the Car to a Shop?
- The Checklist Approach Beats the Guessing Game
- Ready to Get Your Valve Cover Gasket Checked?
- Sources
- FAQ
What Does a Valve Cover Gasket Leak Look Like?
A valve cover gasket leak usually announces itself in one of two ways: quietly, or urgently. The quiet version is a thin film of oil along the top edge of the engine, maybe a faint burning smell after a long drive because oil drifted onto the exhaust manifold. Because the valvetrain constantly splashes oil around while running, a leak can be nearly invisible when the engine is off and obvious the moment it’s running.
The urgent version looks different: visible smoke curling up from under the hood, oil dripping onto the exhaust and burning off, or oil finding its way into the spark plug wells. That last one matters more than people think, since oil in the spark plug wells can trigger misfires and a check-engine light, which turns a maintenance issue into a drivability problem.
Here’s the quick triage. Stop driving and arrange service now if you see:
- Smoke coming from the engine bay, even briefly
- A puddle of oil under the car after a drive of 20 minutes or less
- The dipstick dropping a quart or more in a single day
- Rough idle, misfires, or a check-engine light tied to ignition cylinders
Keep driving but watch closely if you’re dealing with:
- A faint burning oil smell that only shows up occasionally
- A thin oil film on top of the valve cover with no active dripping
- Small oil spots on the driveway that only appear after long highway trips
Pro Tip: Keep a small notebook or a notes app entry with the date and dipstick reading every time you check. A drop from “full” to “add” over two weeks tells a very different story than the same drop over two days.
How Do You Confirm the Valve Cover Gasket Is the Source?
Oil migrates. What looks like a valve cover leak sometimes turns out to be a leaking oil filter housing, a cracked oil cooler line, or a rear main seal weeping forward with airflow. Confirming the source before you buy parts saves money and second-guessing.
- Let the engine cool completely, then put on gloves and eye protection. If you’ll be working near the ignition coils, disconnect the battery first.
- Clean the entire valve cover area with degreaser and a rag, including the spark plug wells and coil boots. Old residue lies to you.
- Log a baseline oil level on the dipstick and note the date and mileage.
- Drive the car normally for a day or two, then recheck both the exterior of the engine and the dipstick. Fresh wetness after a clean surface is real evidence; old residue is not.
- Use a telescoping mirror and flashlight to check the back and sides of the cover where direct sightlines fail, since this is often where the earliest seepage hides.
- If the leak is still unclear, consider UV dye, but treat it as a supplement, not a replacement for a careful visual check, since a dye kit can mislead you if used as the only diagnostic step.
If the engine bay is tight, if coil-on-plug hardware blocks your view, or if the clean-and-recheck test comes back ambiguous, that’s the point to get the car on a lift for a professional look rather than guessing further.
What Causes a Valve Cover Gasket to Leak?
Rubber, cork, and even some silicone gaskets get brittle with heat cycling over the years. Every time the engine goes from cold to operating temperature and back, the material expands and contracts, and eventually it loses its ability to seal tightly against the cover and cylinder head.
Bolt torque plays a bigger role than most owners assume. Bolts that loosen over time let the gasket shift, and bolts that were over-tightened during a prior repair can crush the gasket material or warp a thin aluminum cover, both of which create leak paths that no amount of retightening fixes.
Crankcase pressure is the cause that gets missed most often. A faulty PCV valve or clogged PCV hose lets pressure build inside the engine, and that pressure pushes oil past seals that would otherwise hold fine. Replace the gasket without addressing a bad PCV system, and there’s a real chance the new gasket fails again within a year or two.
Other contributors worth knowing about:
- A warped or cracked valve cover from a prior over-tightening incident
- Contamination from old sealant residue preventing a clean seal on reinstall
- Engine designs with tight tolerances or plastic covers that are more leak-prone by nature
Should You Fix It Yourself or Call a Shop?
The right repair depends on how far the leak has progressed and how confident you are with hand tools under the hood.
Retorque the bolts first. Snugging valve cover bolts to the correct torque spec is a legitimate first move and sometimes stops a minor seep entirely. It won’t fix a gasket that’s already cracked or hardened, and cranking bolts down harder than spec risks cracking an aluminum cover.
DIY replacement is realistic on many engines with decent bay access. You’ll need the correct gasket and grommets, a torque wrench, plastic scrapers, and your vehicle’s service manual for the exact torque sequence. Some engines require pulling ignition coils and brackets first, which adds time and risk if you’re not careful about dropping hardware into the engine.
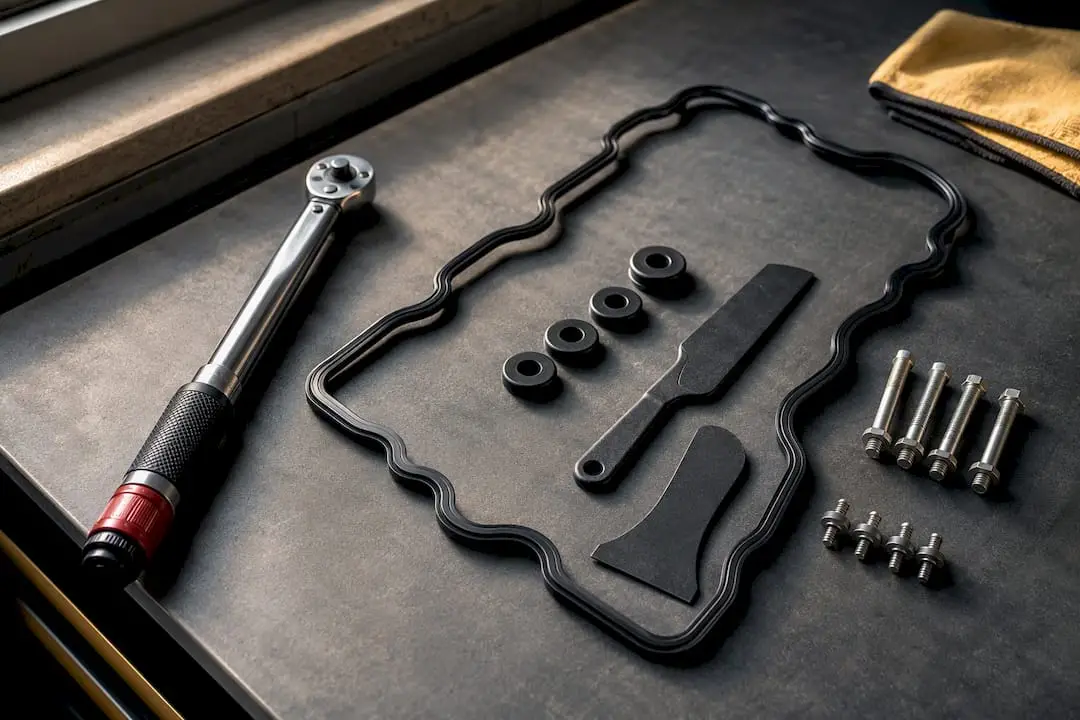
Professional repair earns its keep when the job involves testing the PCV system, replacing tube seals and grommets you might not think to check, or verifying torque with calibrated tools after reassembly.
Cost swings mainly on labor and access, not parts. Total repair costs commonly land in the roughly $200 to $950 range depending on whether ignition components need to come out, whether the cover itself is warped, and how much labor the specific engine layout demands.
How Do You Replace a Valve Cover Gasket the Right Way?
Whether you’re doing this yourself or want to understand what a shop is actually billing you for, the process follows a consistent sequence.
- Prep first. Let the engine cool fully, pull the service manual for exact torque specs, and lay out the new gasket, grommets, a torque wrench, and plastic (never metal) scrapers.
- Clear the obstructions. Disconnect the PCV hoses, remove ignition coils and any brackets in the way, and set fasteners aside in a labeled tray so nothing gets lost or dropped into the engine.
- Remove the cover carefully. Loosen the valve cover bolts in the pattern specified by the manual, working gradually rather than pulling one bolt fully before touching the next.
- Clean the sealing surfaces. Scrape off old gasket material with plastic tools to avoid scratching the aluminum, since scratches become new leak paths.
- Install the new gasket and grommets. Seat them fully in their channels. Add silicone sealant only if your specific manual calls for it at certain corners.
- Reassemble and torque to spec. Tighten bolts in the correct sequence to the manufacturer’s number, not by feel. Over-torquing is one of the most common causes of a repeat leak on aluminum covers.
- Verify the repair. Start the engine, watch for leaks at idle, then check again after a short drive. Monitor the dipstick over the next few days and confirm there’s no residual smoke or new misfire.
Pro Tip: If a friend or a shop tells you “just add a bead of silicone around the whole gasket for good measure,” that’s the wrong move. Excess sealant squeezes into oil passages and can clog the pickup screen down the line.
How Do You Prevent the Next Valve Cover Gasket Leak?
Prevention is mostly about paying attention to the same things you already checked during diagnosis, just on a schedule instead of in a panic.
- Check the dipstick monthly and log the reading; losing more than a quart between oil changes with no visible leak deserves a closer look.
- Have the PCV valve and hoses inspected at routine maintenance, since a stuck or clogged PCV system is a repeat offender behind gasket failures.
- Ask your technician to glance at the valve cover perimeter and tube seals during oil changes, especially past 80,000 miles.
- Follow the manufacturer’s torque spec at every installation, and skip the extra bead of sealant unless the manual specifically calls for it.
When Should You Bring the Car to a Shop?
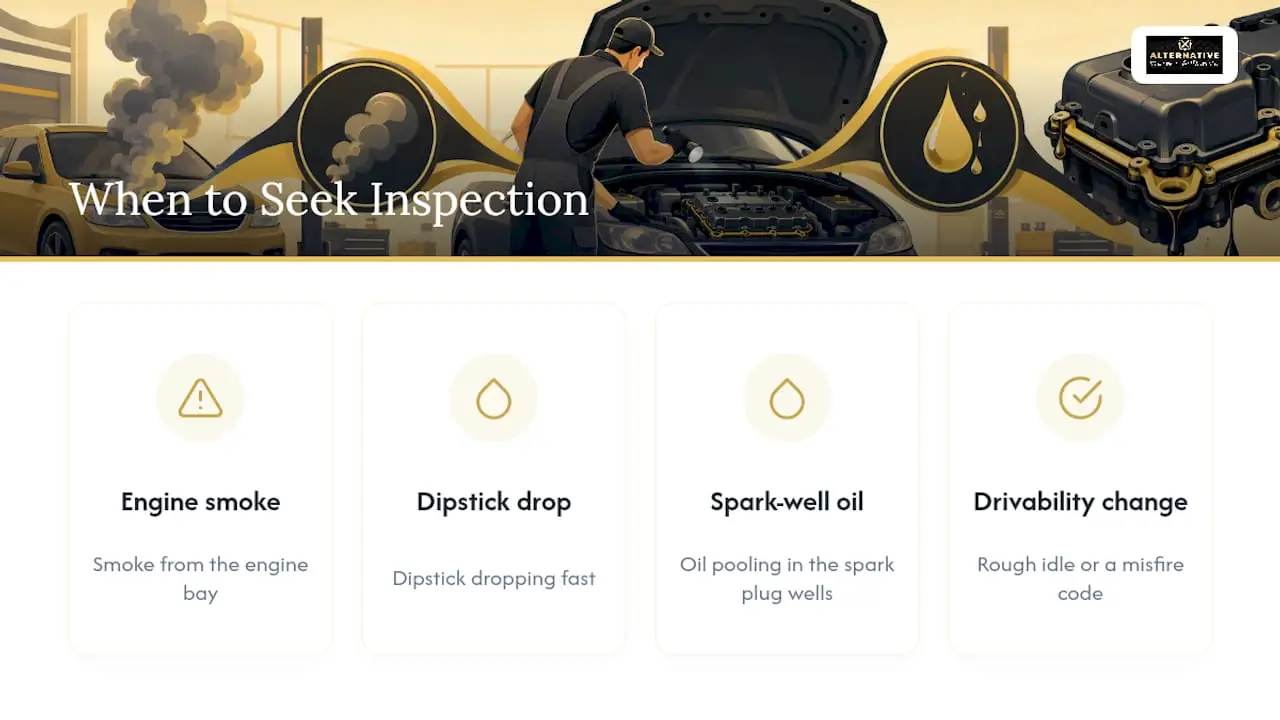
Certain signs move a valve cover gasket leak from “watch it” to “get it looked at now”: smoke from the engine bay, a dipstick dropping fast, oil pooling in the spark plug wells, or any drivability change like a rough idle or a misfire code.
At Alternative European & Domestic, a valve cover gasket evaluation includes a lift inspection of the full engine top end, a PCV system test, a check of the ignition components for oil contamination, and a look at whether the cover itself has warped. We also verify torque on reassembly rather than going by feel, which matters more on aluminum covers and tight European engine bays than most owners realize.
Bring what you’ve got: photos of any oil residue, your dipstick readings and dates, notes on when the smell or smoke shows up, and any check-engine codes your reader has pulled. It speeds up the diagnosis and often shortens the visit.
The Checklist Approach Beats the Guessing Game
Most advice on valve cover gasket leaks falls into one of two camps: forum threads that treat every leak like a weekend DIY project, or dealer language vague enough to justify almost any repair bill. Neither serves the average owner well.
The forum crowd is right that a lot of these leaks are genuinely simple, and a torque check or a gasket swap on an accessible engine doesn’t always need a shop visit. Where that advice falls short is on urgency. Too many DIY guides treat “a little smoke” as cosmetic when it’s actually oil contacting hot metal, which is a different category of problem entirely.
Our take: the smoke, the misfire, and the rapid dipstick drop are not judgment calls. Everything short of that is a legitimate monitor-and-schedule situation, not a five-alarm fire. Owners who track their dipstick readings for two weeks make better decisions than owners who react to the first oily smell they notice. Data beats panic, and it beats denial too.
Ready to Get Your Valve Cover Gasket Checked?
If your dipstick readings are trending the wrong way, or you’ve caught a whiff of burning oil more than once, don’t wait for it to turn into a misfire. Alternative European & Domestic handles valve cover gasket diagnosis and repair on European, domestic, and high-performance vehicles, with dealer-level diagnostics that go beyond a quick visual check.

When you call to book, have your vehicle’s year, make, and model ready, along with what you’ve noticed: smoke, oil smell, dipstick readings, or any check-engine codes. That information lets our technicians start the visit already narrowing down the cause instead of starting from zero. Every appointment includes a full inspection, a written estimate before any work begins, and a verification drive after the repair to confirm the leak is actually resolved. For procedures involving component removal around tight engine bays, having the right reference on hand, including guidance from resources like HVAC Prime, helps set expectations for what a thorough job involves. Head to the Alternative Car Care appointment page to get on the schedule.
Sources
- How to replace a valve cover gasket | Mobil™
- Engine Valve Cover Gasket Leak: Symptoms & Fixes
- Symptoms of a Leaking Valve Cover Gasket & How to Fix It | Professional Guide
- Valve Cover Gasket Leak: 6 Warning Signs & Easy Fixes – EGR Performance
FAQ
How Much Does It Cost to Fix a Valve Cover Gasket Leak?
Cost depends mostly on labor and access rather than the gasket itself. Total repairs commonly range from around $200 to $950, with the higher end driven by ignition coil removal, a warped cover, or added PCV work.
Can I Drive a Car With a Valve Cover Leak?
It depends on severity. Light seepage with no smoke or misfire is generally safe to drive on a short-term basis while you schedule a repair, but smoke, a fast-dropping dipstick, or a misfire means you should stop driving and get it inspected.
Is It Worth Fixing a Leaking Valve Cover Gasket?
Yes. Unaddressed leaks lead to progressive oil loss and can eventually cause engine damage from running low on oil, so a repair that costs a few hundred dollars now is far cheaper than the alternative.
How Long Can You Drive With a Leaky Valve Cover Gasket?
There’s no fixed mileage or time limit since it depends on how fast the leak is progressing. A slow seep monitored with regular dipstick checks can often wait for a scheduled appointment, while any sign of smoke, rapid oil loss, or misfire means the car should be looked at right away.